By TOM BOWSER
The following steps demonstrate how to use Steven Slate Trigger to create a MIDI drum track from an audio drum track. The MIDI drum track can then be used to trigger drum samples in some virtual drum plugins.
You will need a copy of Steven Slate Trigger to work through this tutorial. You can purchase a copy of TRIGGER at Steven Slate Drums. Unfortunately, the FREE version of TRIGGER will not work for this tutorial. The MIDI capture feature used in this tutorial is disabled on it.
Review my tutorial Slate Trigger 2 - Getting Started if you're new to using Trigger.
- Insert Trigger on the audio drum track you want to convert to MIDI. For this tutorial I use an audio kick drum track.
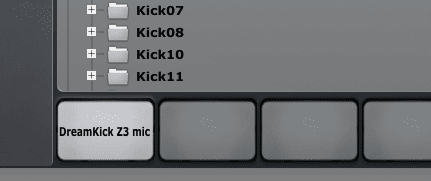
- Load an "Instrument" into Trigger. For this tutorial I chose a kick drum instrument. See the image below.
- Optimize the triggering settings of the Slate Trigger plug-in inserted on the audio drum track. If Trigger does not detect a hit it will not convert it to MIDI. You will have missing drum hits in the MIDI track Trigger creates.
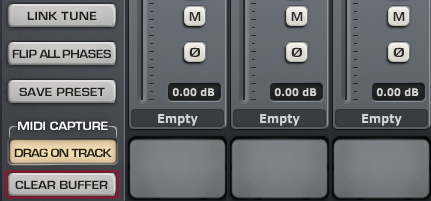
- Left click on the "CLEAR BUFFER" button at the bottom left side of the Trigger Plug-in. I've drawn a red line around the CLEAR BUFFER button in the image below.
- Left click on the "Return to Zero" button in the Pro Tools transport window to move the playback cursor to the beginning of the track.

- Press your keyboard's spacebar or left click on the green play button (green triangle) of the Pro Tools transport window to begin converting the audio track to MIDI.
- Press the spacebar on your keyboard to stop the Pro Tools playback cursor when it has reached the end of the audio track. You can also left click on the square "Stop" button on the transport to stop playback.
- Left click and hold down your left mouse button on the "DRAG ON TRACK" button at the bottom left corner of the Trigger window.
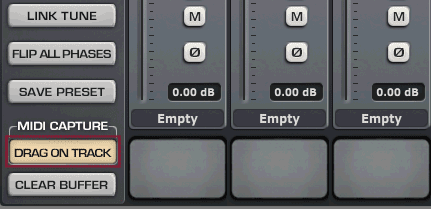
- Drag your mouse cursor onto a blank section of the "Edit Window" then release your left mouse button. The "MIDI Import Options" window will appear.
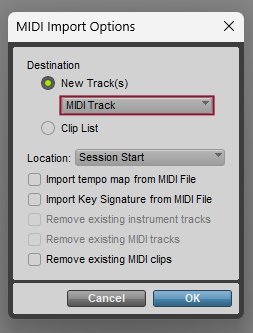
- Left click on the drop-down arrow under "Destination > New Track(s)" and select "MIDI track". (see the above image)
- Left click on the "OK" button.
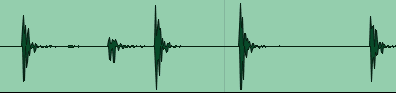
A new MIDI track is created. It will display a series of black vertical lines. Each black vertical line in the MIDI track should correspond to a drum hit in the original drum track (kick drum track in this tutorial). (see the image below).
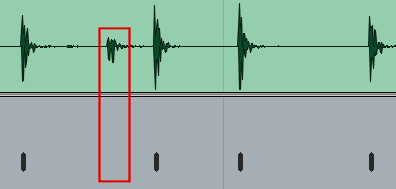
- Review the new MIDI drum track and verify that it includes a black vertical line for each drum hit in the audio track.
- Name the new MIDI track. For example, "Kick MIDI".
NOTE: As I mentioned in Step 2, you need to optimize the triggering settings of the Slate Trigger plug-in BEFORE converting to MIDI. If you do not you may have extra or missing drum hits in your MIDI track. In the image above, I've drawn a red line around a kick drum hit that was not detected in the audio track and not written to the MIDI track.